SharePoint 2013 Environment Setup Options
| End User | Fundamentals | Administration | Development | System Admin | BI | |
|---|---|---|---|---|---|---|
| Option 1: Office 365 SharePoint Online Trial | (90%)* | (50%)* | ||||
| Option 2: Use VMWare Player |
(98%)* | (50%)* | ||||
|
* (Percentage of the labs that can be completed using this option) For Fundamentals course option 2, in workflow lab, it is possible to design workflows but not to run them because workflow manager is not supported on a domain controller. For Administration course option 1, search lab and part of the final project cannot be completed. For Development course, app development should be done on Office 365. |
||||||
Option 1 - Use Office 365 SharePoint Online Trial
This option works well for Fundamentals and Administration courses. Note; some administration labs cannot be completed on Office 365. End User | Power User course setup instructions are located here.
Requirements:
- Operating System: Windows 7 or Windows 8.1
- Office 2013 Pro (included as part of the trial)
- InfoPath Designer 2013 (included as part of the trial)
- SharePoint Designer 2013 (This free product will be installed during Designer lab)
Step by Step Video:
Setup Steps:
- Sign up for Office 365 Enterprise Trial
- Your Office 365 tenant URL will be as follows: https://company-name.sharepoint.com
- Please write down your user name and password
- The default domain for users is company-name.onmicrosoft.com. You can add your own domain later.
- Download sample documents
- Create sample users
- Go to Office 365 Admin Center > Users > Active Users
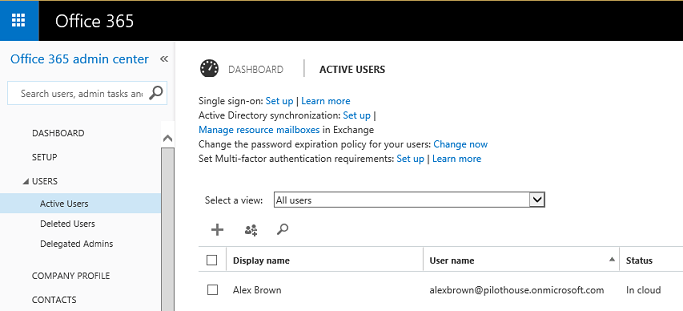
- Create users manually: Dave Green, Lucy Smith, etc
- Or choose bulk add and use import-users.csv from Sample Documents
- Go to Office 365 Admin Center > Users > Active Users
- Find root private site collection
- From anywhere in Office 365, go to Admin > SharePoint > Site Collections
Note: it may take 5-15 minutes for SharePoint to finish setting up.
The direct URL of SharePoint admin site is https://company-name-admin.sharepoint.com.
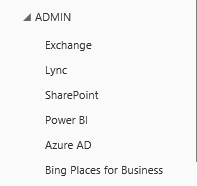
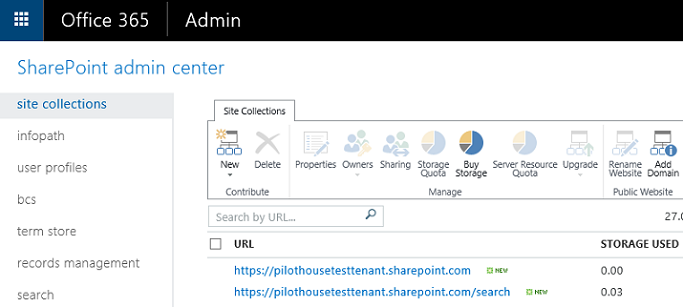
- Under site collections, identity the root site collection (example: https://company-name.sharepoint.com).
- Go to the site collection and make sure to add site collection URL to Trusted Sites in Internet Explorer.
- Optional: If Web Designer Galleries are not available in Site Settings of the site collection, delete and recreate the site collection (With scripts enabled on the tenant)
- From anywhere in Office 365, go to Admin > SharePoint > Site Collections
- Rename root site collection to "ABC University"
- On the home page of your new site collection, click on "Your Site, Your Brand" image
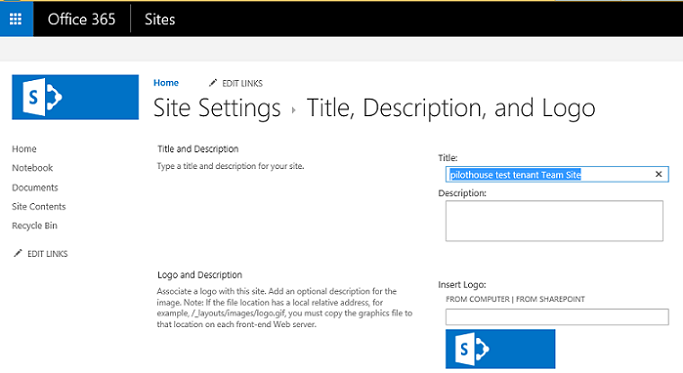
- In Site Settings Title, Description, and Logo page, change Title to "ABC University"
- Click OK
- You are ready to go!
Option 2 - Use VMWare Player to run the image on Windows or Mac
This option is simple to setup as the image includes all software necessary to perform labs for the course. However, it has the highest computer requirements
Requirements:
- 8 GBs of RAM minimum, 16GB recommended
- 50 GBs of hard drive space
- Solid state hard drive
- AMD or Intel processor that supports virtualization (turned on in BIOS)
- Operating System: 64 bit Windows 7, 8 or Mac OS
Setup Steps:
- Enable Virtualization support by restarting your computer and going into BIOS. The settings are typically under Advanced Bios, System Configuration, or CPU Features. Each computer BIOS is different so please check your manual or google detailed instructions for your computer if you can't find the setting.
- Download VMWare Player and install it.
- Download VMWare image rar files (About 16GB in size, 50GB when files are expanded). Need to have a good connection. We recommend using an FTP client software, but you can also use any standard internet browser to download the files.
- Extract the files by clicking on the first file "SharePoint 2013 VM.part1"
(On a Mac, rename the first rar without exe extension)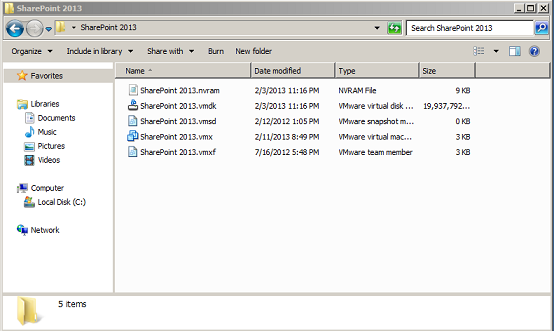
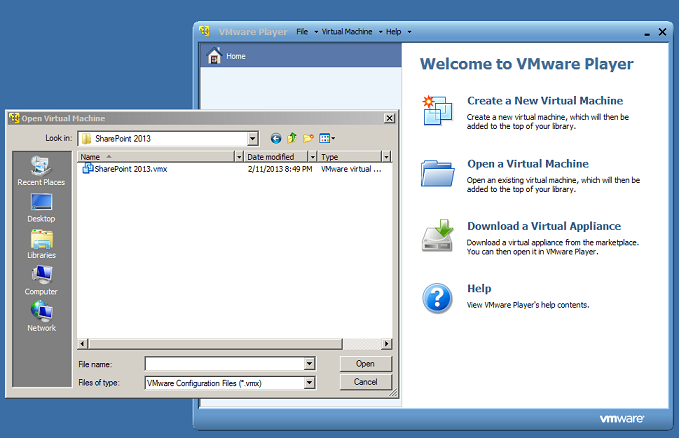
- Open the virtual machine within the WMware Player
- Configure the image:
- When the server powers up, SharePoint site will be slow on initial clicks. If it's still slow after the first couple of minutes, please refer to the support section.
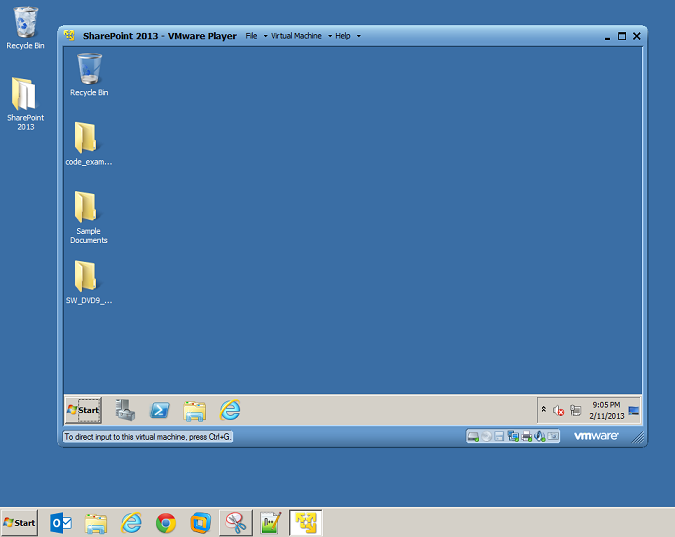
- All Done!!!
You can now start working on the labs and exercises by opening Internet Explorer inside the Virtual Image (VMWare). You will be directed to ABCuniversity SharePoint site automatically once you start Internet Explorer.
a. Allocate at least 5.5GB of RAM
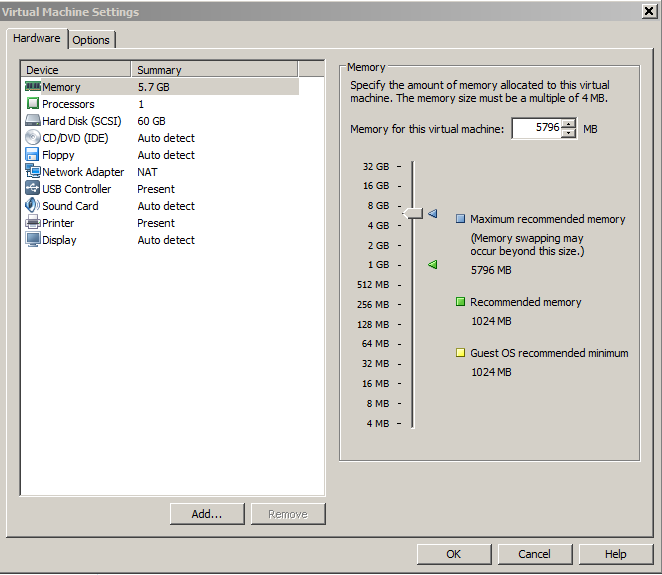
b. Change network adapter to NAT
c. Power up the virtual machine
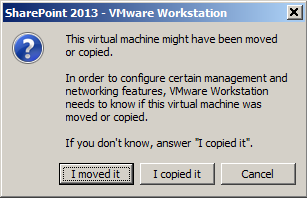
d. Select I moved it when prompted on whether you copied or moved the image
